How-to
Essential Graphics guide for After Effects and Premiere

Nick Avola
Senior Marketing Specialist
October 12, 2023

Let’s talk Essential Graphics. One of the most powerful tools you’ve (likely) never heard of. Or at least never tried.
Essential Graphics is one of our favorite After Effects tools. We use it every day in a variety of situations. In fact, we’d argue that mastering Essential Graphics is…well…essential. Every motion artist should be using this tool, whether you’re a veteran or beginner.
Sadly, Essential Graphics is underappreciated in the design community. Too often we see artists avoiding it — either out of ignorance or fear of its complexities. More commonly, we see artists misusing the tool, just scratching the surface of its potential.
That’s where this quick-start guide comes in. It’s time to raise awareness of this powerful little tool. It’s time to 10X your productivity. Because that’s what Essential Graphics is all about — maximizing your time management and efficiency.
Soon, you’ll be identifying and eliminating time-wasting practices and unnecessary headaches. We’ll have you scaling up your business faster than ever. You’ll stop measuring skill by that insanely-high "comp count", but instead by your ability to pack everything into as few comps as possible.
Mastering Essential Graphics will take some time and practice. Luckily, the step-by-step tutorial below will teach you everything you need to get started. We’ve even included a sample project file, so you can follow along and practice in real-time.
But first…
The sad truth
The majority of motion designers are wasting time. And lots of it. Tell us if this imaginary scenario sounds familiar.
Your client submits a new brief. They’ve requested an animation featuring, say, ten purple balloons inflating. Easy enough. You render out a preview and send it off for review. The client loves it, but wants more color. Can we get half the balloons in orange?
OK, not so tough. You return to After Effects and duplicate the original composition. Now you have two comps: the original in purple and the new one in orange. After another render, you resubmit the design to your client. “Looks great,” they say, “but it’s too simple….” “Can we have print a cute, unique smiley face on each balloon?”
Oof, back to After Effects. Since each smiley face is unique, each balloon will need to be its own individual comp. You’ll have to recreate the original two comps another eight times, in addition to the smiley faces. Some time later, you run another render and resubmit. Great news. The client approves, but the balloons are too small… “Can we expand their inflation width?”
Time to hit the panic button. Normally, this wouldn’t be much of an issue. After all, editing the inflation animation is a simple task. However, since each balloon has its own individual comp, you’ll need to update them one-by-one, ten times…
At this point, you’re losing patience and valuable time. Your comps have ballooned (no pun intended) from the original one, making editing a messy nightmare. You’ve poured hours into otherwise simple adjustments, taking you away from higher-priority tasks. Not to mention all the time wasted for multiple rounds of rendering.
And this is just a simplified example. Imagine if the number of balloons were 20? 50? 100? See how unmanageable and inefficient this process is? Sadly, this scenario is a daily occurrence for most motion artists.
Simple changes should have a simple solution. Luckily, these headaches can be virtually eliminated, all with one simple tool.
What is Essential Graphics?
Essential Graphics was launched by Adobe in mid-2017, and surprisingly remains an under-the-radar tool. The Panel can be found in both After Effects and Premiere Pro, and has a number of use cases.
Let’s start with the most basic, simplified use for the Essential Graphics panel. In this instance, we can nest master properties into an existing composition in After Effects. We can tweak these properties to create variations of the parent comp (or "precomp"); changing things like color, size, speed, text, and more. Once exported, these properties can then be adjusted within Premiere Pro. This means we can control complex After Effects compositions on the fly — all without having to actually be in After Effects!
In fact, once properly configured, almost anyone can jump in and edit projects – even those without motion design experience. It’s no wonder this use case is so popular on template marketplaces, where artists distribute files created with Essential Graphics. These templates provide simple interfaces to control video effects, accessible to anyone with a basic understanding of Premiere Pro.
Don’t get us wrong, this feature alone makes Essential Graphics a great time saver. But it’s only scratching the surface of the tool’s real capabilities.
The magic begins when you start scaling up your projects, creating multiple variations of the original, parent comp. Each new "child" copy we create retains the same property options from the "master" composition. Any property edits we make here will only affect that unique layer, without changing the master composition. Edits made to children layers will not affect the parent.
Better yet, the situation also works in reverse. You can make sweeping changes across all variations, simply by editing the master composition. Changes made to the parent composition will be reflected across all its children. This means no more having to go back and edit each element one-by-one. You can think of the original, nested composition as the global editor, and the individual child layers as local editors.
This means we can have multiple copies of the same composition that look differently, even if there is only one master composition. You can create endless amounts of variations, all coexisting, without ever needing to duplicate work or recreate compositions. Entire, massive projects can be built in as little as one or two compositions! This is the magic of Essential Graphics.
So let’s return to the scenario above as an example. Instead of recreating each balloon composition individually, we would start by creating one master comp and ten variations. As client feedback came in, we would edit the precomp’s master properties to include two color choices (purple and orange) and ten smiley-face options. From here we simply go to each child variation and customize it as we see fit. Lastly, to adjust all the balloons’ inflation width, we just need to edit the parent comp – the change we make here will be automatically applied to each child. And just like that, we’ve saved hours of menial busywork.
Lost yet? No worries, the example project below will walk you through the process, step-by-step.
Getting started with Essential Graphics
Time to get your hands dirty. Let’s see what Essential Graphics is all about, up close and personal.
In this example scenario, we’ll show you how to build a collection of stinger transitions. From one original composition, we’ll be creating a number of variations — customizing things like colors, direction, and curvature. All in a fraction of the time it would have taken previously.
When we’re done, we’ll be making variations like these with ease.
Best yet, we’re giving you the keys to our project files. Just open up After Effects and download the .aep project file below. From here, you can start experimenting with Essential Graphics, making countless variations of your own.
Step one: Open Essential Graphics
With your After Effects client open, open the Essential Graphics panel. Navigate to Window, then select Essential Graphics.
From this panel, you’ll be able to see and adjust all master properties attached to your comp. Since we haven’t configured any yet, the box will be empty. As you add new customization options, the panel will fill.
Step two: Add properties
Let’s start adding master properties to the original composition. Here you’ll want to include any settings you may want to tweak in the future. To add a property, just drag and drop into the Essential Graphics panel above.
You’d be surprised at how many property types can be adjusted here. Experiment with as many as possible. For this project, we’ve selected the following: Position, Direction, Curvature, Color 1, Color 2, Color 3, and BG (background color).
Step three: Nest composition
Next step, we’ll need to nest our master composition to begin creating variations.
Once this is done, we can start producing countless layers, all containing the master property options of our original. Create as many copies as variations you’d like to feature. In this instance, we’ll produce four separate versions.
Step four: Tweak property values
From here the world is your oyster. Start adjusting master properties to customize the look of your transition animation. Experiment to see the full potential of the Essential Graphics tool.
Note that as long as you’re modifying children, your changes won’t affect the parent comp. They stay unique to the layer you’re working on.
If you’d like to make a global change to all layers, return to the original comp and make tweaks there. Your changes will be pushed to all children, unless specified otherwise.
Step five: Preview your variations
Now it’s all about fine-tuning until you reach your desired animation. Keep experimenting until each variation feels like its own, unique creation.
What can you create with a single project file? We’d like to see. Share your creations with us on Twitter.
Practice, practice, practice
There’s no sugarcoating it. At first, Essential Graphics is a difficult tool with a steep learning curve. We promise though, after a few hours of dedicated practice you’ll be mastering the mechanics.
We’ve put together a list of supplementary training resources, so you can cruise through the rough beginner stage. Here are some of our favorites:
This Blog by the School of Motion team
This Guide by the good folks at Frame.io
This Video by Phil Ebiner
With these in hand, you’ll go from rookie to pro in no time. We can’t wait to see what you’ll create.
Wrapping up
Well there you have it, folks. Our guide to the mighty Essential Graphics tool. We hope it serves you well. As mentioned earlier, we think it’s an absolutely essential tool for any modern motion artist — both stream designers and otherwise.
We’re often surprised at how many veteran are oblivious of its existence. We love blowing their minds when they see how much time and energy they could be saving. Processes that used to take five to ten minutes suddenly can be completed in 60 seconds or less.
As for us, we find ourselves most commonly using Essential Graphics in the following assets:
Stream alerts
Intro animations
Transitions
Logo animation
Lower thirds
Stream screens
We’re sure you’ll find many more use cases for your work. Be sure to share them with us when you do.
So go ahead, give Essential Graphics a shot. Once you experience it, you’ll never look back.
Related Content

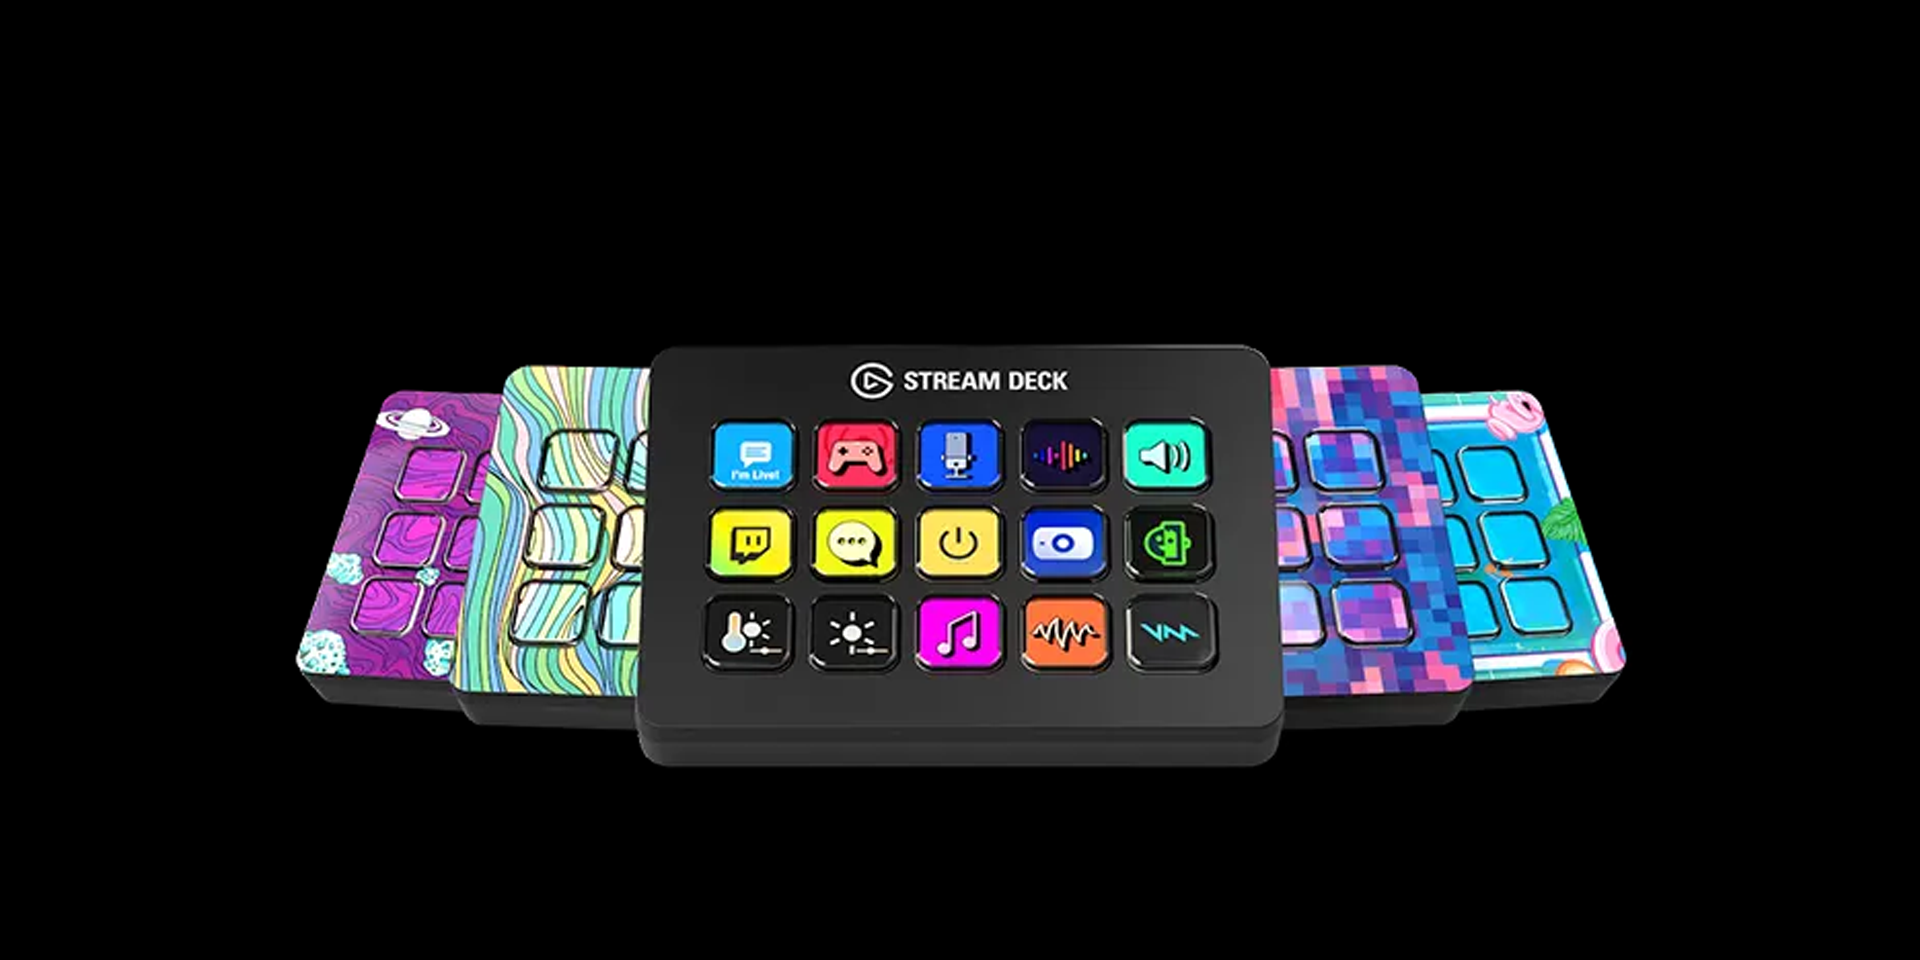
Icon packs 101
Everything you need to know about Stream Deck icon packs.
How-to
Audio effects 101
Everything you need to know about Marketplace's audio effects.
How-to
Getting started with Stream Deck
Get the ins and outs of Stream Deck.
How-to
July 9, 2023

Track Matte Transitions – Upgrade your OBS Stingers
Want to get started with track matte transitions? If so, you may have many questions.
How-to

Plugins 101
Everything you need to know about Stream Deck plugins.
How-to
Twitch Graphics Size
Consider this the ultimate guide to Twitch graphics size — and the bible for creative-types.
How-to
What’s new in OBS 27.1?
OBS Studio’s much-anticipated update—OBS 27.1—is here. Its release sent shockwaves through the st
How-to
How to Use OBS to Record
OBS Studio is one of the best broadcast applications out there.
How-to
Use multi actions to do more with less
With multi actions, carry out several actions with a single Stream Deck key.
How-to