Inspiration
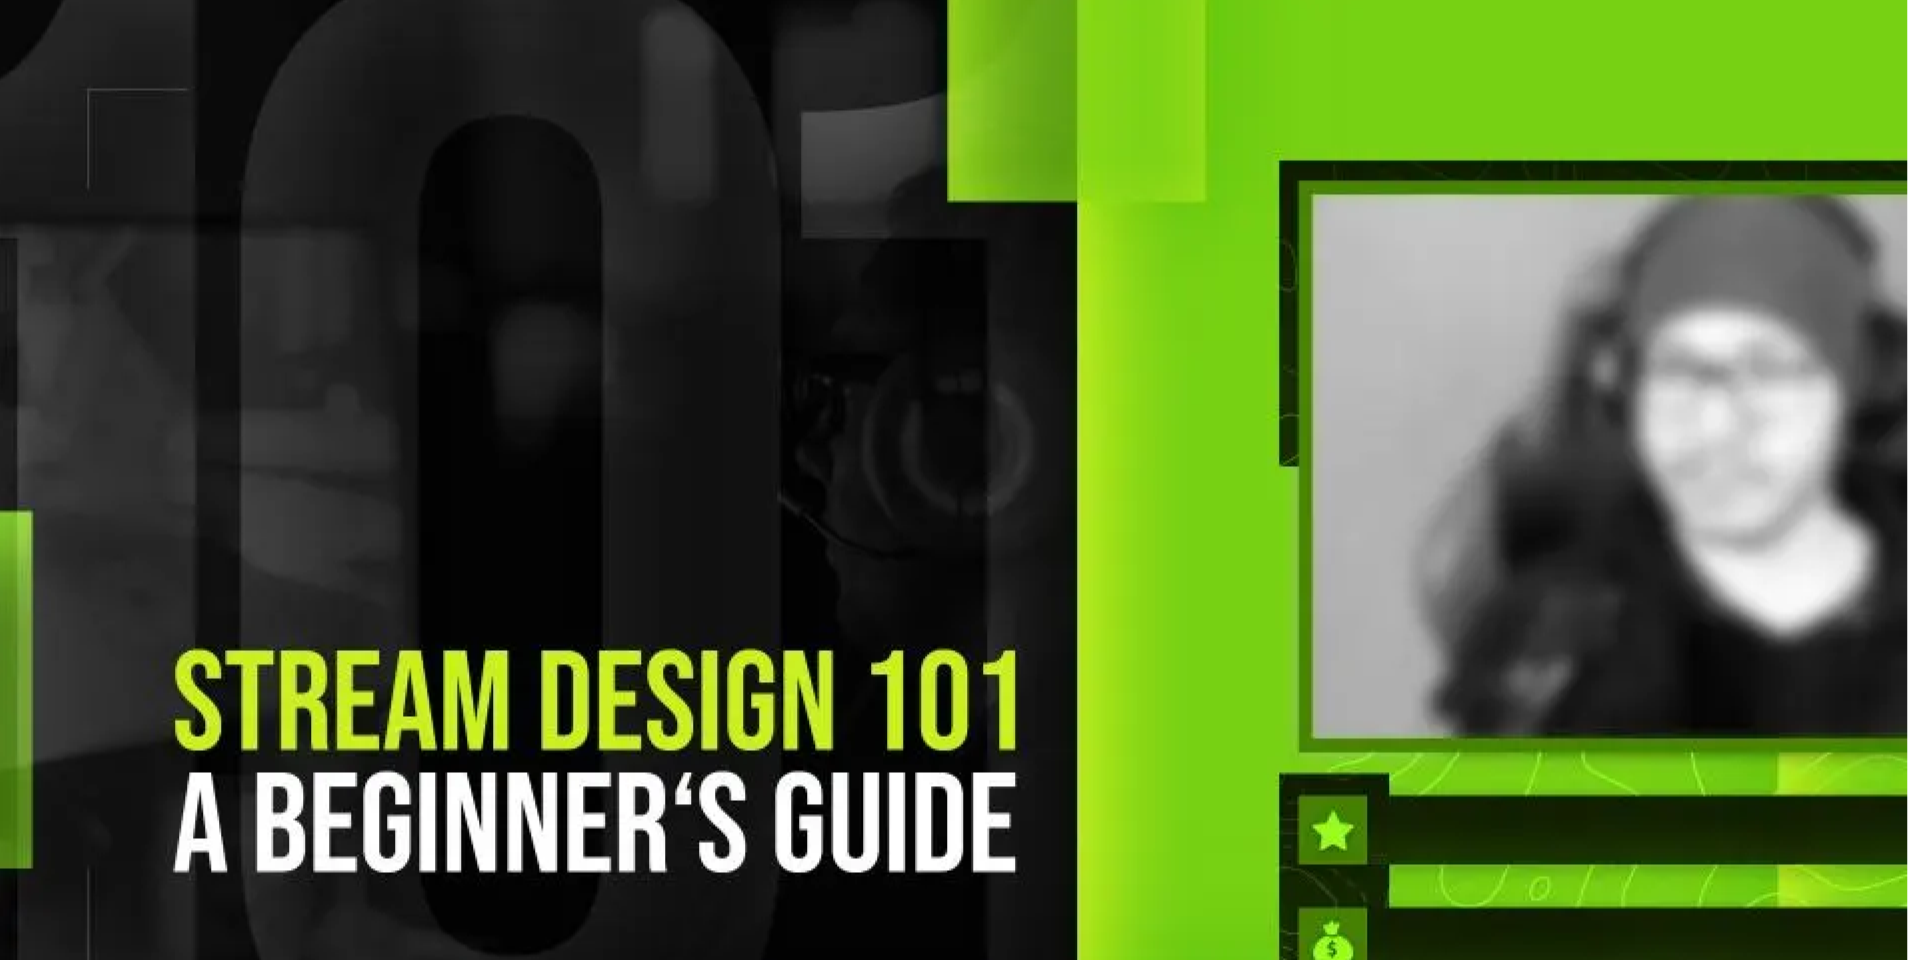
Stream Design 101: A Beginner’s Guide

Nick Avola
Senior Marketing Specialist
July 5, 2023
New to streaming? You’ve probably got a million questions. “How do my PC specs hold up?” “Which broadcasting software should I use?” “What about production hardware; am I missing anything?” (Luckily, our friends at NVIDIA have already answered those questions and more. Spoiler, their GeForce GPU’s NVENC encoder is god-tier.) But what about stream design?
In fact, some of the most common and frustrating questions for new broadcasters deal with stream design. “What are overlays?” “Where can I find them?” “What are the essential graphics I need to start broadcasting?” “How do I set them up on my stream?”
Today our team at Visuals by Impulse is going to answer these questions, one by one. As the world’s largest creative studio for streamers, we think we’re pretty qualified. When we’re finished, you’ll have everything you need to look your best on-air.
So let’s get started with the basics…
What are overlays?
Overlays are graphics that, well… lay over your gameplay and camera feed (name making sense yet?).
Think of overlays like pizza toppings. In this instance, the pizza’s large cheese area represents your main gameplay feed. As you sit new toppings (or overlays) on top of the pizza, you’re obscuring a small view of the cheese layer (or gameplay) behind. But with each new topping you add, your pizza becomes tastier and more attractive to onlookers.
And just like pizza toppings, overlays come in a variety of styles, shapes and colors. You can customize your layout to make a one-of-a-kind creation. But what happens when you overload on toppings? Your pizza becomes a soggy, cluttered mess. The same is true with overlays; you need to be selective and strategic in which graphics to feature in your stream design.
So who’s hungry yet?
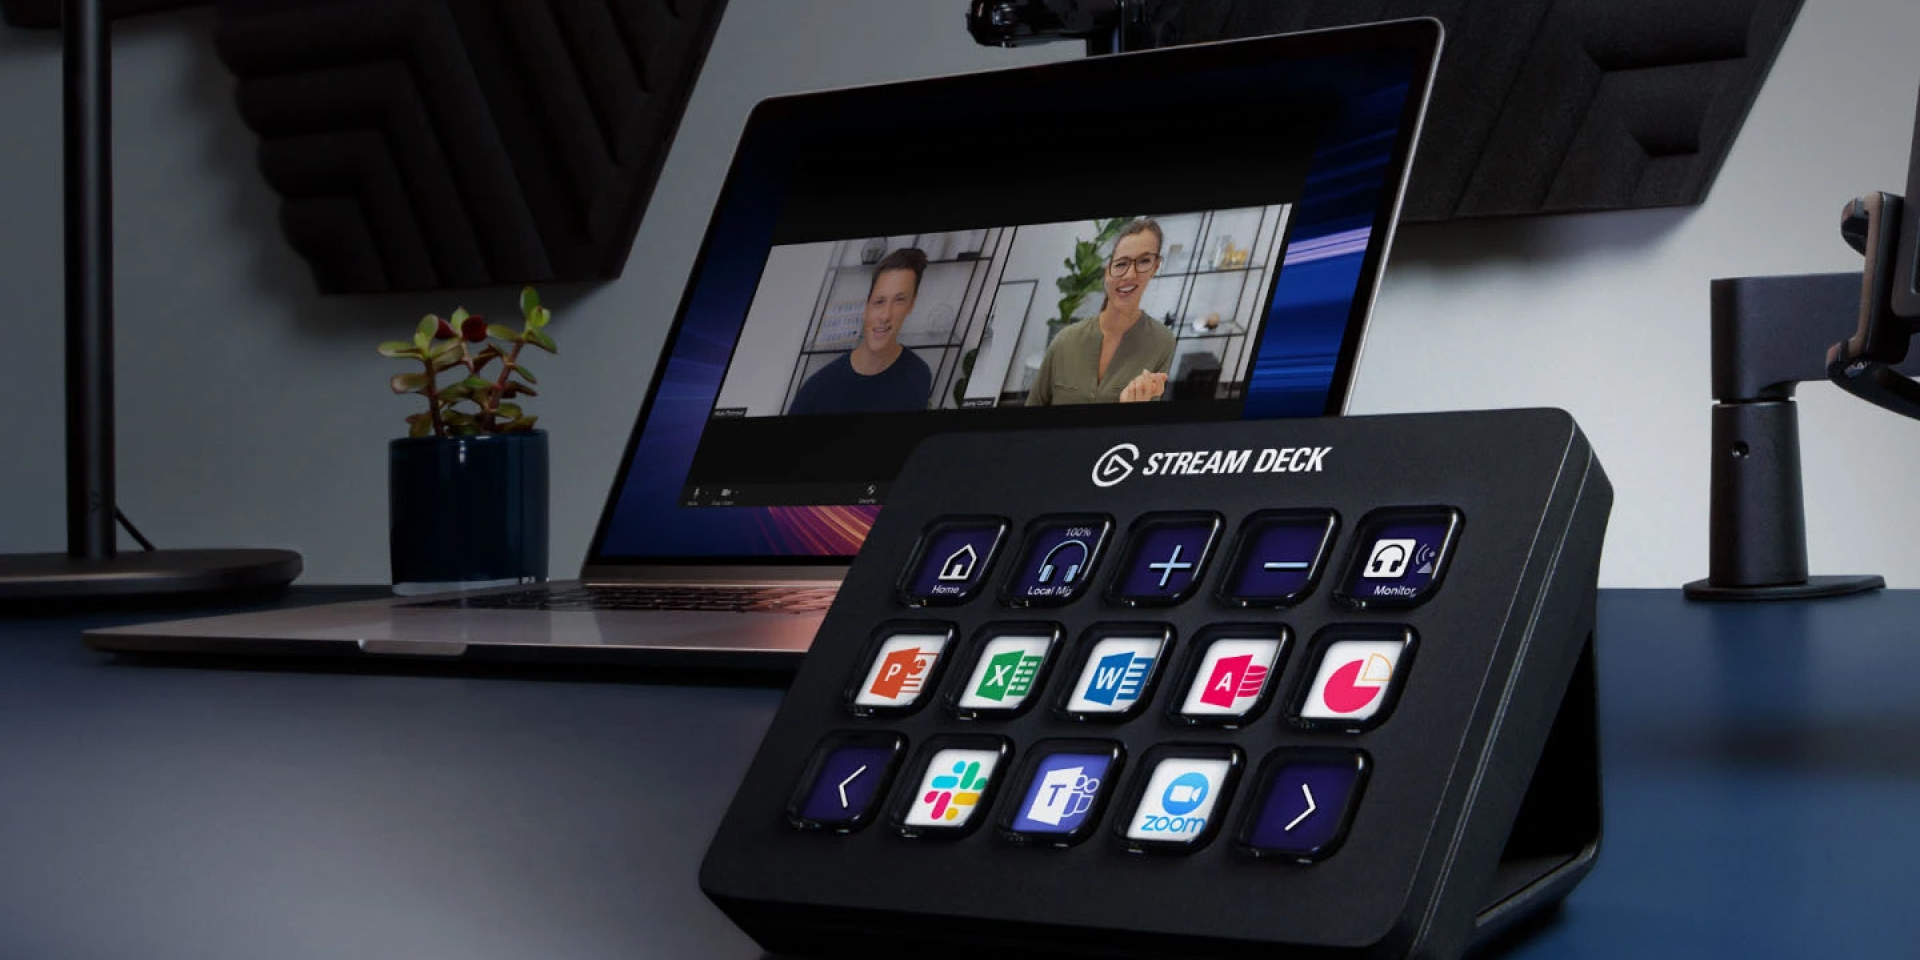
Most commonly, overlays are transparent PNG files, which allows you to neatly layer graphics over background sources. We’ll explore some of the most common examples soon, but understand that we use the term ‘overlay’ broadly to refer to multiple graphic types. Most can be scaled and positioned using your favorite streaming software, such as OBS Studio or Streamlabs (more to come on this later).
We recommend overlays for every new streamer, as they help separate professionals from amateurs. Some give you an aesthetic, branding edge. Others will spark viewer engagement. Still more help to jumpstart your channel monetization. When done right, overlays are a powerful tool that can separate you from the millions of other small streamers out there.
Where to find overlays
Luckily, overlays are easy to find, if you know where to look. There’s no shortage of designs and designers around the web. They’re also surprisingly affordable. Most beginner packages can be acquired for anywhere from free to $30 for a full animated set (anything more and buyer-beware).
A word of caution, first. Not all overlays are made alike; don’t be tricked by just a pretty face. Some of the best-looking designs out there are surprisingly restrictive and outdated. We recommend instead looking for a combination of looks, customization, and innovation. Never sacrifice functionality for a flashy design.
A note on customization. In today’s market, you should be able to adjust every element of your overlays. If you can’t make them your own, what’s to separate you from the thousands of other creators using the same overlay package? Choose a design team that champions customization options – don’t settle for one-size-fits-all graphics.
With that said, here are a few of the most popular overlay sources:
Visuals by Impulse (Duh)
Nerd or Die
Streamlabs Prime
OWN3D
For those with bigger budgets, custom stream design might be the option for you. Many artists (including our team here at VBI) will create one-of-a-kind designs for your brand. For the majority of new streamers however, we’d recommend starting with a set of professional, premade overlays. At least until you’re comfortable with broadcasting and have built up a loyal audience.
Five essential graphics for your stream design
Now that you know what an overlay is and where to find them, let’s take a look at popular overlay types.
To avoid overwhelming you, we’re only going to focus on the five overlays we consider essential for new streamers. These are basic, beginner graphics that form the foundation of every streamer’s channel design. Spend a few months (at least) mastering these five overlays.
We’ll also show you setup guides for each overlay type. For most beginners, a basic knowledge of streaming software should be enough to get started. To keep things simple, we’ve focused on the three most popular streaming software; OBS Studio, Streamlabs Desktop, and StreamElements (OBS.Live).
Up first…
Stream Design #1: Webcam Frame
The most basic stream design is the webcam frame. It acts as a simple border along the edges of your live camera feed; a thin, stylized frame separating your camera and background gameplay. It is also commonly referred to as a ‘webcam border’ or a ‘webcam overlay’.
The vast majority of live streamers use camera frames. Why? Because they are the mark of a ‘professional’ streamer. Alone, camera feeds often blend into background visuals, especially if your gameplay features bright colors. A webcam frame helps separate the two video sources, preventing confusion and eye-weariness for your viewers. They also look great and identify you as a dedicated broadcaster who cares about building a community and brand.
Related Content

Discover the perfect sound with Equalizer Presets
Unlock your sound's full potential with EQ Presets.
Inspiration

Streamline your VTube Studio experience
Level up VTube Studio with Stream Deck. Streamline toggles, controls, and model placement.
Inspiration
September 21, 2023

Transform Your D&D Adventures
Create a more immersive experience.
Inspiration
Elgato Equalizer: Step up your game
Discover the Elgato Equalizer, the secret weapon to mastering sound.
Inspiration
July 27, 2023

Profiles. Pages. Folders.
Profiles, Pages, and Folders.
Inspiration
What should your next setup upgrade be?
Let's talk about ways to improve your content with Elgato.
Inspiration
A One-Tap Safe Mode Key
How to Protect Yourself From Hate Raids.
Inspiration
Hack your workflow with Stream Deck
Enhance your productivity with these supercharged actions and plugins.
Inspiration
5 things you didn't know about Stream Deck
Nested folders, Siri voice control, smart profiles, SDK resources, and more.
Inspiration